If you haven’t used one of these little tools for making bias strips you are in for a treat! You can have perfect bias in no time at all! Think of all the little basket handles you can make! It’s so easy! Follow me…
Start with a square of fabric. Fold diagonally, wrong sides together.
Press the fold…
Now let’s go over to the cutting mat…
Line up ruler on the pressed fold line and cut diagonally across the square.
Bias makers come in assorted sizes. The general rule is to cut the fabric strip double the width of the bias maker. For example: Cut 1/2” strip for a 1/4” bias maker…
Measure your fabric…
and cut the strip…
…and back to the ironing board we go!
To protect your ironing board from spray starch, cover it with a scrap of muslin or plain fabric. Lay the fabric strip right side down on top of the scrap and spray the cut strip with starch.
Insert the end of the strip into the wide end of the bias maker as shown in the photo below.
Now, flip the bias maker over (see below) and insert a straight pin into the hole on the back of the bias maker. Use the pin to push the fabric through the maker and out the other (narrow) end.
See? Look at the photo below! There’s a little folded strip coming out!
Now, turn it back over, and place the edge of your iron next to end of bias maker. Pull the bias maker down the strip of fabric, and move the iron along with it. Keep the iron right next to the edge of the bias maker.
Pick up the iron after about an inch, and check to see that your strip is folding correctly. If not, just push the bias maker back up the strip and start again.
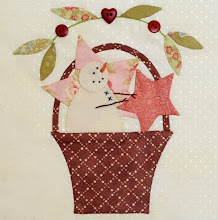
Look at this finished basket handle! All you need to do is take it to your background fabric and appliqué in place!
See? Told you that was easy! If you’re using a larger square of fabric for a LONG piece of bias, spray the strip with starch as you go along. You’ll have a mess if you spray the whole strip at once.
So you’re ready to make the bias strip handle on the basket you’ll see on Thursday! See you then!
Hugs,


